Drywall — also called Sheetrock, gypsum board and rock lath — is the most widely used material for finishing interior walls. It’s created by mixing together gypsum plaster and fiber, then wrapping the concoction in a heavy paper and letting it set. Once it’s set, the resulting product is a heavy, solid material perfect for forming walls and ceilings.
Welcome to Part 2 of 2: Painting Drywall! It’s relatively easy but you should follow a process for best results.
Before Painting New Drywall:
- Remove the dust from the new drywall. If you don’t do this, your walls will have a rough feel and look because the dust clumps up into grit in your primer later. Start with a wide dry broom on the ceiling if it is new (even if not, clean it!), and let the dust settle a bit. You’ll want to have a dust mask on.
- Broom the walls and let the dust settle. Do a first rough sweep, then a finer sweep, then go to your mop. Don’t use your good vacuum as this dust will kill the machine! If you do not have a Shop Vac (one with a filter), use a broom.
- Give the walls a final dusting with a barely damp cloth or sponge–not wet, but just barely damp. Yes, you must clean floor to ceiling because if you don’t, the paint roller will pick up the dust and create a wall finish that is rough like sandpaper.
Prepping to Painting New Drywall:
- Use an actual drywall primer first and since we’re talking about brand new walls, using a paint/primer-in-one is fine. Be sure to prime right to the corners.
- Next, run painter’s tape around the edges of all trim, casings and baseboards, and cover furniture with plastic cloth. Protect your floors with a professional grade drop cloth. Don’t use plastic; spilled paint will puddle on it, creating a slipping hazard. Plus, you’ll likely step in some of the paint drops at some point, then inadvertently track paint all over your house
- First, figure out if you’ll be rolling your paint or spraying it on. Spraying is a lot faster, makes your paint stretch the furthest and covers the best. But you have to really prepare well, thoroughly covering everything — including windows and doorways and fixtures — because sprayed paint gets everywhere. Proper ventilation is also critical.
- Now make sure you have enough for two coats of paint, plus quality brushes and rollers. TIP: To get rid of any loose, fluffy strands on rollers that you don’t want to paint onto your walls, wrap them with masking tape and then pull it all off.
Painting!
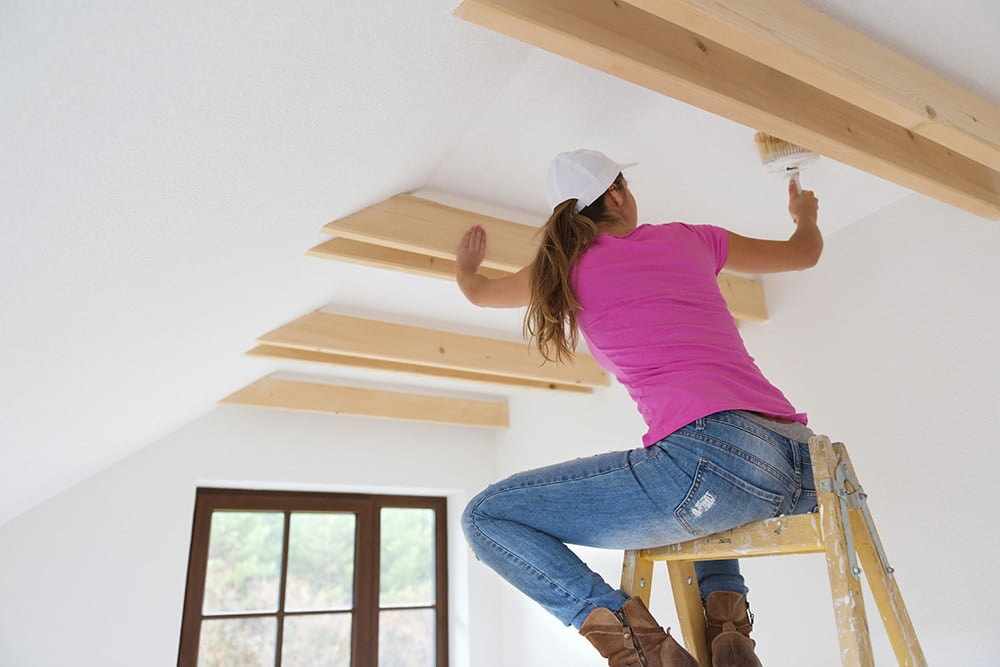
- Now, if you can get someone to help you, that is ideal. One of you can first “cut in” the edges with a quality brush, painting along the baseboards, ceiling line and corners, while the second person follows and rolls the main portion of the wall or ceiling. Stay close to each other, because you always want to paint over wet edges. If the cutter gets too far ahead and the paint dries before the second person catches up, that may cause “banding” — visible lines you’ll notice once the paint dries.
- The person rolling should work from the top of the wall down, first making a large “M” or “W” on a section of the wall, then painting through that section vertically. This helps better spread the paint than simply using straight vertical or horizontal strokes, and reduces the likelihood of seeing lines when you’re finished.
- Let your paint dry for at least two or three hours before applying the second coat.
- When both coats are dry and you’re cleaning up, run a blade in between the painting tape and walls to cut through any dried drips, then remove. If you just yank the tape off, it may pull a chunk of the paint with it.
So now you should feel really great about being able to paint any wall, regardless if it is plaster or drywall. If you have any questions at all or if you’d like us to provide a quote to take care of this for you, don’t hesitate to reach out. We’re always here to help!


